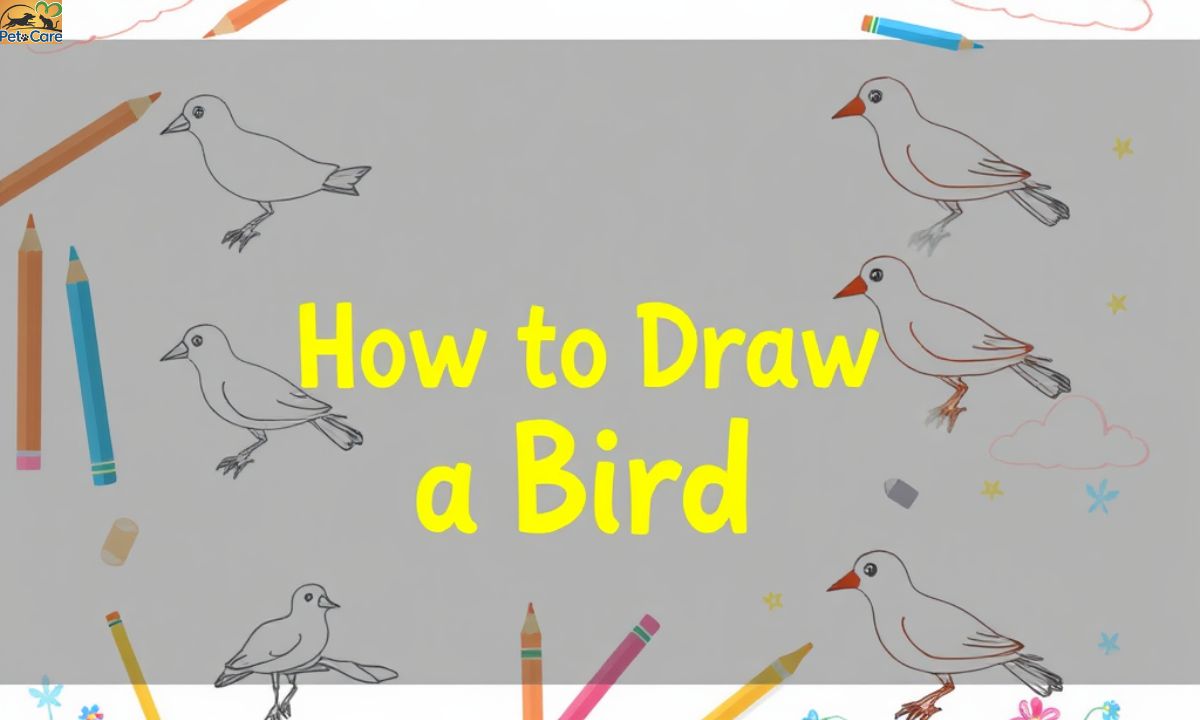
Drawing a bird can be a fun and rewarding experience, even for beginners. It’s a great way to practice your drawing skills while creating a lively and beautiful creature. In this guide, we’ll walk you through the simple steps to draw a bird from start to finish.
Whether you’re drawing a cute little sparrow or an elegant eagle, these basic steps will help you create a clear and accurate bird drawing.
Draw a Circle for the Head and an Oval for the Body
To begin drawing your bird, the first step is to establish the basic structure. Start by drawing a small circle for the head. This will act as the foundation for the bird’s head shape. Don’t worry about getting it perfect – this is just a basic guideline.
Next, draw a larger oval shape for the bird’s body. Position the oval directly beneath the circle, slightly to the right or left, depending on the direction your bird is facing. The oval should be about two to three times the size of the head circle, depending on the type of bird you’re drawing.
Read This Blog; What Does It Mean When You See a Bluebird?
Draw Lines for the Tail, Legs, and Beak
Now that you have the basic shapes in place, it’s time to draw the bird’s limbs. Start with the tail. Draw a few straight lines extending from the back of the oval body. You can make the tail shorter or longer depending on the type of bird you are drawing.
Next, add the legs. Draw two lines extending downward from the bottom of the oval, positioned a little towards the center of the body. These will represent the bird’s legs. You can add small lines at the end of each leg for the feet.
Draw a Shape for the Wings, Lines for the Talons, and a Shape for the Eye
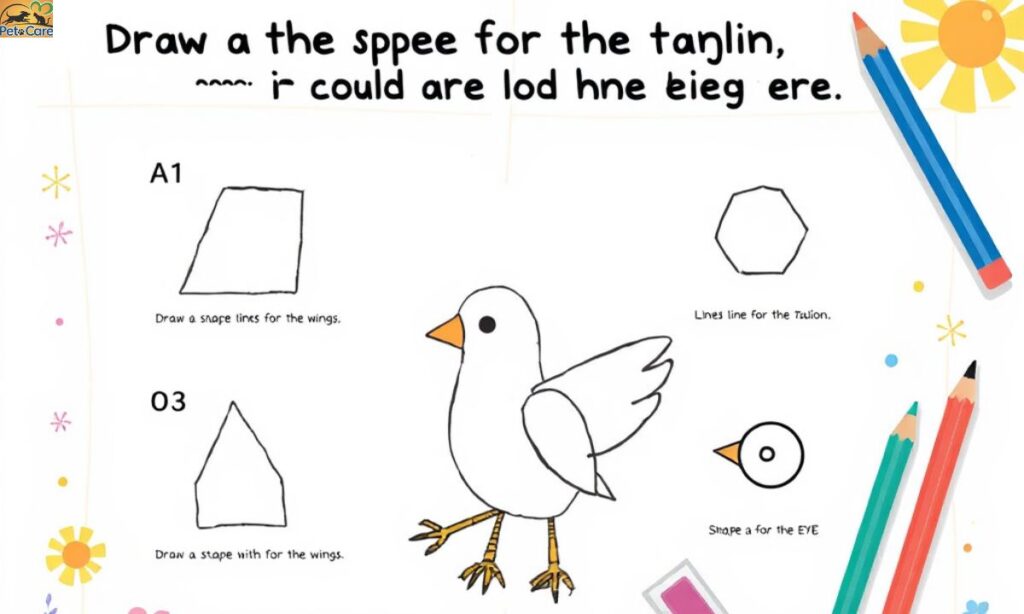
At this stage, it’s time to add the bird’s wings. Draw a large, curved shape extending from the middle of the oval body. The shape should have a gentle arch, and it should be about the same size as the body. You can make the wings more rounded for a cute bird or pointed for more dramatic species like hawks.
Next, draw the talons. You can add three or four small lines extending from the bird’s feet to represent the talons. These should be thin and pointed, and they should curve downward to give the appearance of claws.
Read This Blog; How to Make a Bird
Develop the Form and Add a Few Details
Now that you have the basic shapes in place, it’s time to refine the form of the bird. Start by adding more curves to the body and head, removing any harsh lines from the initial shapes. Make the body shape smoother by connecting the head circle to the body oval.
Next, add details like feathers on the wings and tail. For the wings, use curved lines to give the feathers texture and detail. You can do the same for the tail. For the legs, add some lines to show the structure and texture of the bird’s skin.
How Are the Draw of Peace and Prosperity – Here’s Why
One of the most significant meanings of the bluebird is its connection to peace and prosperity. In many cultures, bluebirds represent calmness, tranquility, and the arrival of good fortune. Their peaceful nature and beautiful colors evoke a sense of serenity and balance.
Prosperity is also symbolized by bluebirds due to their association with spring and renewal. As a migratory species, bluebirds return in the warmer months, symbolizing new beginnings and the return of life after the harshness of winter. In many parts of the world, the bluebird’s arrival marks.
Finish the Drawing with Heavy Lines and Value
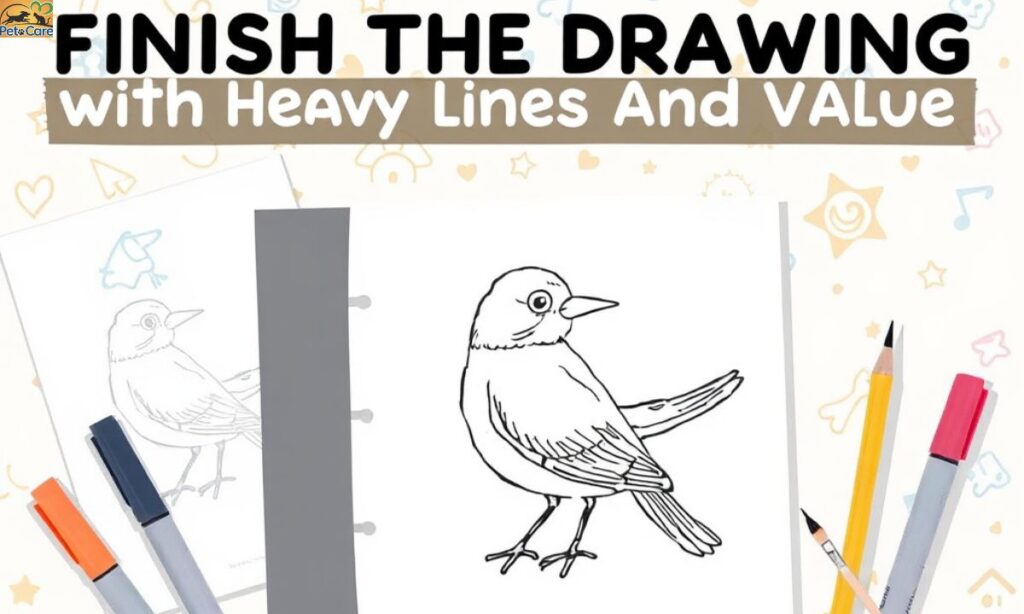
Once you’re satisfied with the form of your bird, it’s time to finalize the drawing with heavier lines. Use darker lines for the outer edges of the bird, giving it depth and making it stand out. You can use thin lines for internal features like feathers, tail details, and legs.
Next, add some shading to give your bird more dimension. Consider the light source when shading, and use a gentle gradient for the body. For areas like the wings or tail, you can add darker shadows to create a more realistic look.
Final Touches
Make sure to clean up any extra lines from the initial shapes to give your drawing a polished appearance. At this point, you can also add background details such as a tree branch, sky, or other birds.
Frequently Asked Questions
How do I draw a bird’s wing properly?
To draw a bird’s wing, first create a curved shape that mimics the natural arc of the bird’s body. Start from the top of the body and work down, adding feather-like details as you go.
What’s the best way to draw a bird’s eye?
The best way to draw a bird’s eye is to start with a small circle, placing it near the center of the head. Add a darker dot in the middle to represent the pupil. You can add tiny lines around the eye to show texture or feathers.
How do I add texture to a bird’s feathers?
You can add texture to feathers by drawing short, curved lines to create layers. Make sure the feathers flow in the direction of the bird’s body and wings. Vary the size and shape of the feathers to give your bird a natural look.
How do I make my bird look more realistic?
To make your bird look more realistic, focus on the proportions. Study different bird species to understand their body structure, and always keep the bird’s natural stance and positioning in mind.
Conclusion
Drawing a bird might seem challenging at first, but with these simple steps, anyone can learn to create a beautiful bird illustration. Start by sketching basic shapes for the body and head, then gradually add the wings, tail, legs, and other details. Use light and heavy lines for contrast, and don’t forget to add value through shading to give your bird a realistic touch.
Remember, practice makes perfect! Whether you’re drawing a small sparrow or a majestic eagle, following these steps will help you create a stunning bird drawing in no time. Keep practicing and soon you’ll be able to draw birds from different angles and in various poses. Happy drawing!