Drawing a bird can be a fun and rewarding activity, especially if you follow a simple step-by-step guide. Whether you’re a beginner or experienced artist, drawing a bird requires patience and attention to detail.
In this tutorial, we’ll walk you through how to draw a bird using basic shapes and lines. By the end, you will have a bird illustration that looks professional and lifelike. Here’s how to get started!
Draw Two Circles That Overlap Each Other
To begin drawing a bird, the first thing you need to do is draw two circles. These circles will form the basic framework for the bird’s body and head. Draw the circles so they overlap slightly at one side; one circle will represent the bird’s body
End the other will be for the bird’s head. The overlapping areas will help with proportion and positioning later on in the drawing. Use light pencil strokes to draw the circles so that you can adjust them easily if needed.
Draw Two Rings for the Bird’s Eyes
Now, it’s time to add the bird’s eyes. Draw two small circles inside the head circle you created in the previous step. These circles should be placed symmetrically to give the bird a natural look.
The eyes will be the focal point of the face, so make sure they are proportional to the size of the head. After drawing the basic circles, you can add additional details like the pupils and eyebrows to give the bird some personality.
Draw the Details for the Bird’s Beak
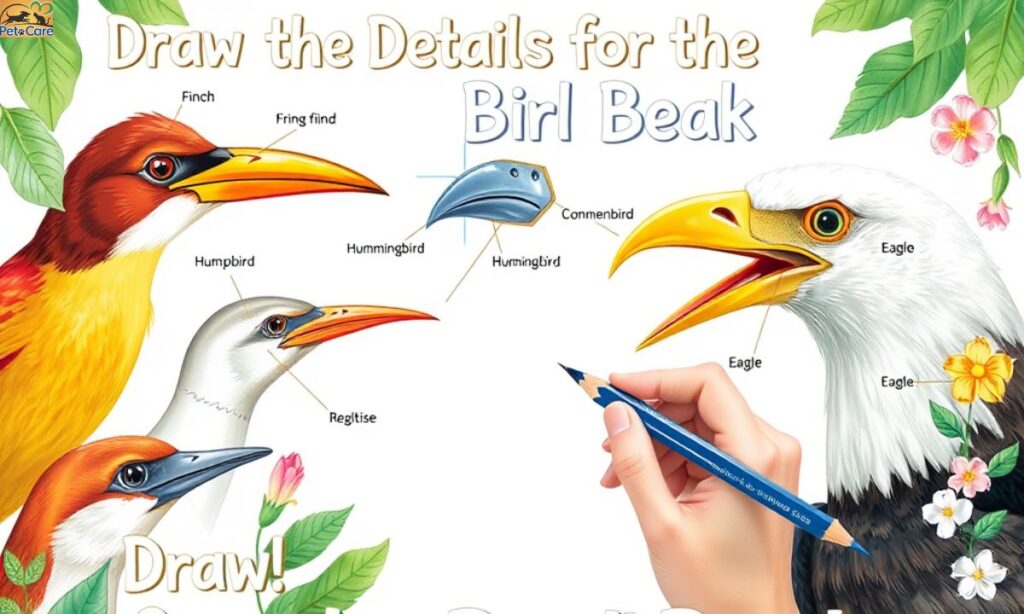
Next, focus on the bird’s beak. The beak is located at the center of the two circles, just below the eyes. Begin by drawing a slender triangle with a slightly curved top. The point of the triangle will represent the tip of the bird’s beak, while the base will connect with the bird’s face.
You can adjust the size of the beak depending on the type of bird you’re drawing. For example, a parrot will have a curved and large beak, while a sparrow will have a smaller, sharper beak. Make sure to leave some space between the beak and the eyes to keep the face proportionate.
Draw Additional Details for the Bird’s Head
After adding the beak, start adding additional details to complete the bird’s head. Draw a slight curve along the top of the head to give it a rounded shape. Then, add some feathers along the edges of the head to make it look more realistic.
Depending on the type of bird you’re drawing, you can add extra details like crest feathers (like those on a cockatoo) or small tufts on the head. These small additions will help define the species you’re illustrating. Make sure to soften the lines for a more natural look.
Read This Blog; What to Do if You Find a Baby Bird?
Draw the Bird’s Wings Using Rounded Curves
Now that the bird’s head is done, move on to the wings. Start by drawing the wings using rounded curves that extend from the bird’s body. The wings should look like elongated ovals or teardrop shapes, with the wider part near the body and the narrow tip extending out.
Don’t make the wings too symmetrical; nature is full of asymmetry. The wings will connect to the body just below the head and should look fluid and natural. Make sure the wings extend outward to give the bird a sense of motion, as if it’s ready to fly.
Draw Details for the Bird’s Feet, Legs, and Tail Feathers

Next, focus on drawing the bird’s feet, legs, and tail feathers. Begin by sketching the legs extending down from the body. For most birds, the legs will be thin, so draw slender lines for the legs, making sure they’re proportionate to the bird’s body size.
The feet should have three or four toes, each ending in a claw. If you’re drawing a robin, its feet will be small and thin, while a hawk will have larger feet with strong claws. The tail feathers should be drawn as elongated.
Trace with a Pen and Erase Unnecessary Lines
Now that you have the basic framework and details of the bird drawn, it’s time to trace over your pencil lines with a pen. Use a fine-tipped pen or marker to carefully go over the main outlines, such as the bird’s body, head, beak, wings, and legs.
Once you’ve traced all the important lines, you can use an eraser to remove any unnecessary pencil lines. Be sure to leave the lines you’ve traced intact to keep the bird’s shape clear.
Read This Blog; How good is the nikon zf for bird photography
Add Final Touches
At this point, your bird drawing is almost complete! Take a moment to add any final details, such as feathers or extra lines that show texture on the wings, body, or tail. You can also use shading to add depth and dimension to your drawing.
Focus on where the light would naturally hit the bird and darken areas that would be in shadow. Finally, color your bird if desired. Use colored pencils, markers, or digital tools to add life and vibrancy to your drawing.
Step-by-Step Table for Drawing a Bird
| Step | Description | Materials Needed |
| Step 1 | Draw two circles that overlap each other | Pencil, Paper |
| Step 2 | Draw two rings for the bird’s eyes | Pencil, Paper |
| Step 3 | Draw the bird’s beak using a slender triangle | Pencil, Paper |
| Step 4 | Add details for the bird’s head, including feathers | Pencil, Paper |
| Step 5 | Draw the bird’s wings using rounded curves | Pencil, Paper |
| Step 6 | Draw the bird’s feet, legs, and tail feathers | Pencil, Paper |
| Step 7 | Trace the lines with a pen and erase unnecessary pencil marks | Pen, Eraser, Paper |
| Step 8 | Add final touches, including shading and coloring | Colored pencils/Markers (Optional) |
Frequently Asked Questions
How do I make the bird look more realistic?
To make your bird look more realistic, focus on adding texture to the feathers and ensuring the proportions are accurate.
Can I draw a bird without circles as a guide?
While circles are a helpful guide, you can draw a bird freehand if you’re comfortable with shapes and proportions. The circles simply help to create a framework for beginners.
How do I draw a bird’s wings in flight?
To draw a bird’s wings in flight, extend the wings outward using curved lines that show motion. The wings should be angled upward or downward, depending on the position of the bird.
What type of bird is easiest to draw for beginners?
For beginners, birds like sparrows, pigeons, or robins are ideal. These birds have simple shapes and are easy to sketch using basic lines and curves.
How do I add shading to my bird drawing?
To add shading, observe where light falls on your bird. Use lighter shading on the areas facing the light source and darker shading on the opposite sides. This will create a three-dimensional effect.
Conclusion
Drawing a bird can be an enjoyable and fulfilling experience, especially when you follow the simple steps outlined above. From the initial circles to the final shading, each step builds on the last, helping you create a bird that is both realistic and lively.
By using basic shapes and paying attention to small details, you can develop a beautiful bird drawing. Whether you’re sketching a sparrow, a hawk, or a parrot, the process is the same: start with simple shapes.